Connect LPMS Sensors
FusionHub is the application for LP-Research LPMS sensors - it replaces the older LpmsControl app. This guide shows the fastest way to connect a sensor and look at its live data: download, plug in, and stream within a few minutes. No account and no license are needed for this - the download is free and sensor connectivity works out of the box.
The steps below apply to all LPMS sensor families. USB sensors (LPMS-IG1, LPMS-IG1P, LPMS-CURS3, LPMS-CANAL3 and similar) and Bluetooth sensors (LPMS-B2) are all handled by the same LPMS Sensor node.
1. Download and install FusionHub
Download FusionHub for free from xikaku.com/downloads.
Windows: download the MSI installer, run it and follow the install wizard. Afterwards start FusionHub from the start menu.
macOS: download the DMG, open it and drag FusionHub into the Applications folder. Confirm the first launch when macOS asks about an app downloaded from the internet.
When FusionHub starts, the control panel opens in its own window.
2. Plug in or pair your sensor
USB sensors (LPMS-IG1/IG1P, LPMS-CURS3, LPMS-CANAL3, …): connect the sensor to a USB port. Windows normally installs the USB driver automatically; if the sensor does not show up in the next step, install the Silicon Labs CP210x VCP driver and reconnect.
Bluetooth sensors (LPMS-B2): switch the sensor on and pair it once in your operating system’s Bluetooth settings (on Windows: Settings > Bluetooth & devices > Add device > Bluetooth). The sensor appears as LPMSB2-xxxxxx. After pairing it is available in FusionHub.
3. Add an LPMS Sensor node
FusionHub processes data as a graph of nodes. For a quick sensor test all you need is a single source node.
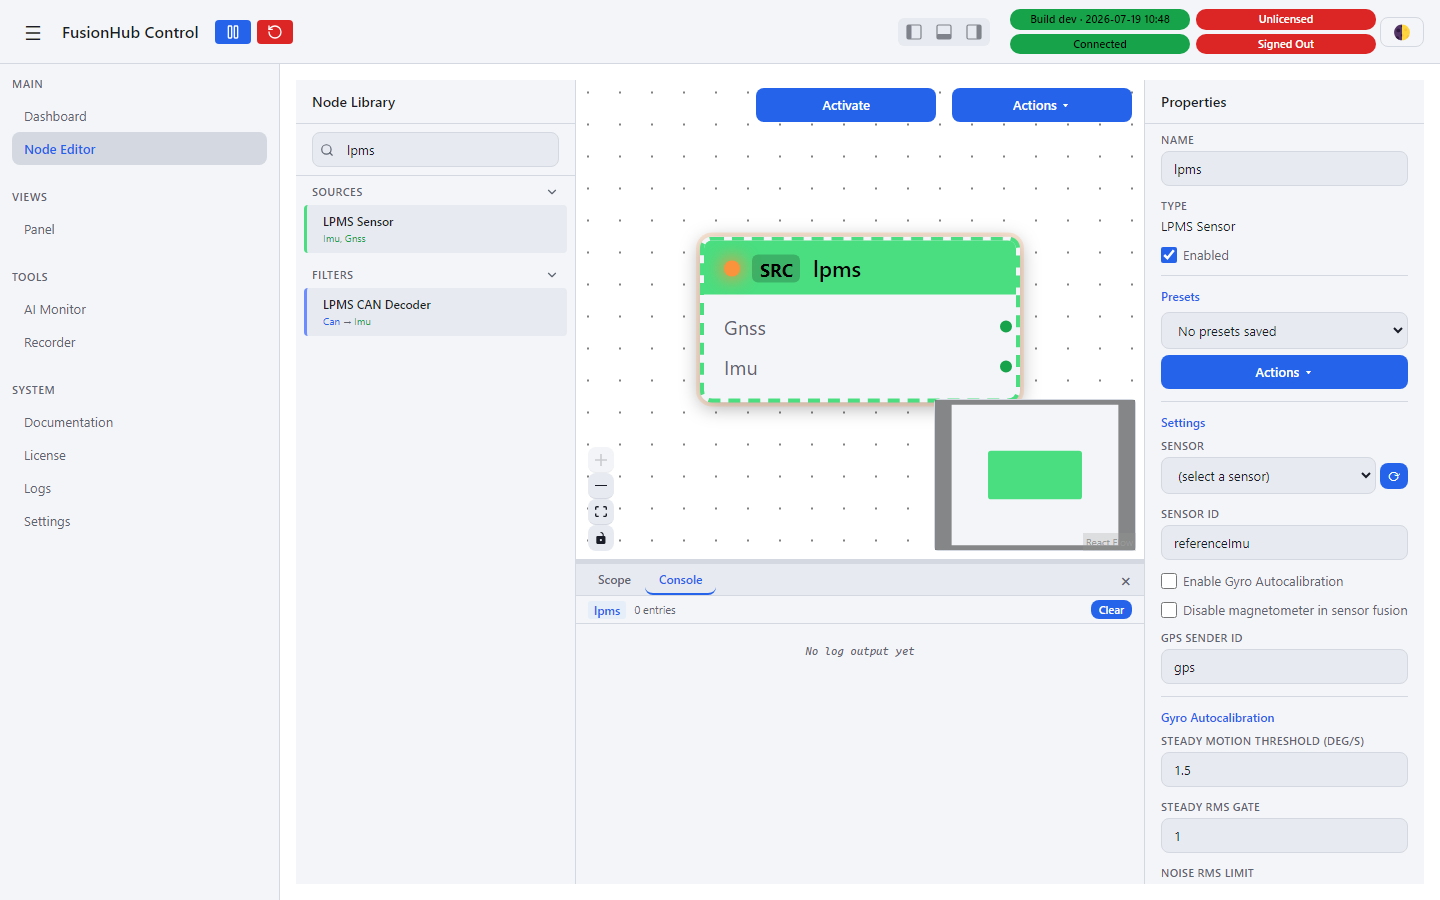
Open the Node Editor from the sidebar, type “lpms” into the Node Library search field and drag the LPMS Sensor entry onto the canvas:
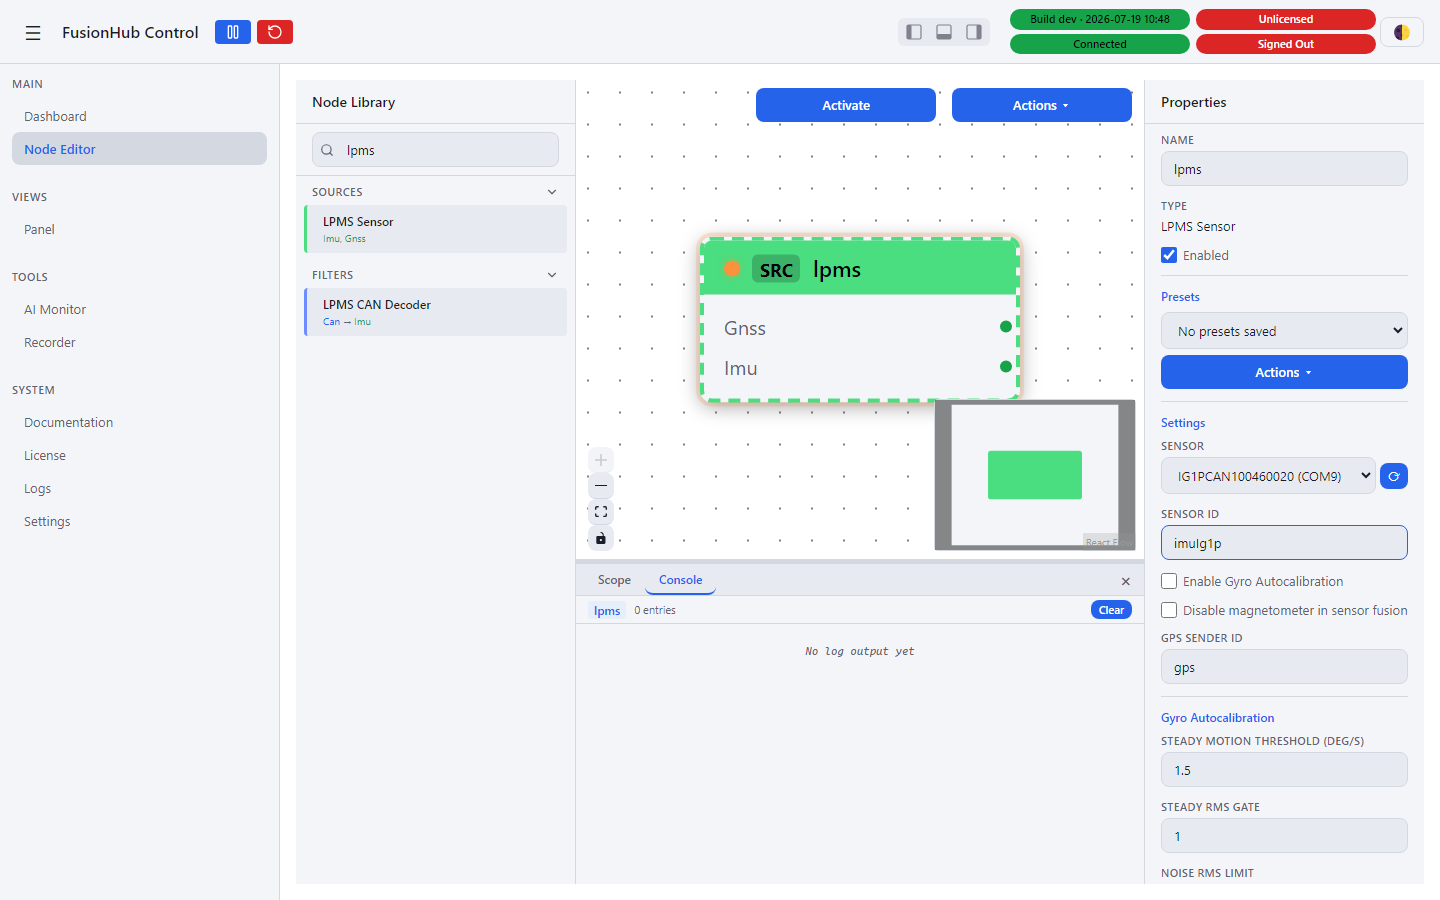
Click the node to open its properties. The Sensor dropdown lists every detected sensor - USB sensors with their serial number and port, Bluetooth sensors with their device name and address. If you plugged the sensor in after opening the page, click the refresh button next to the dropdown. Select your sensor:
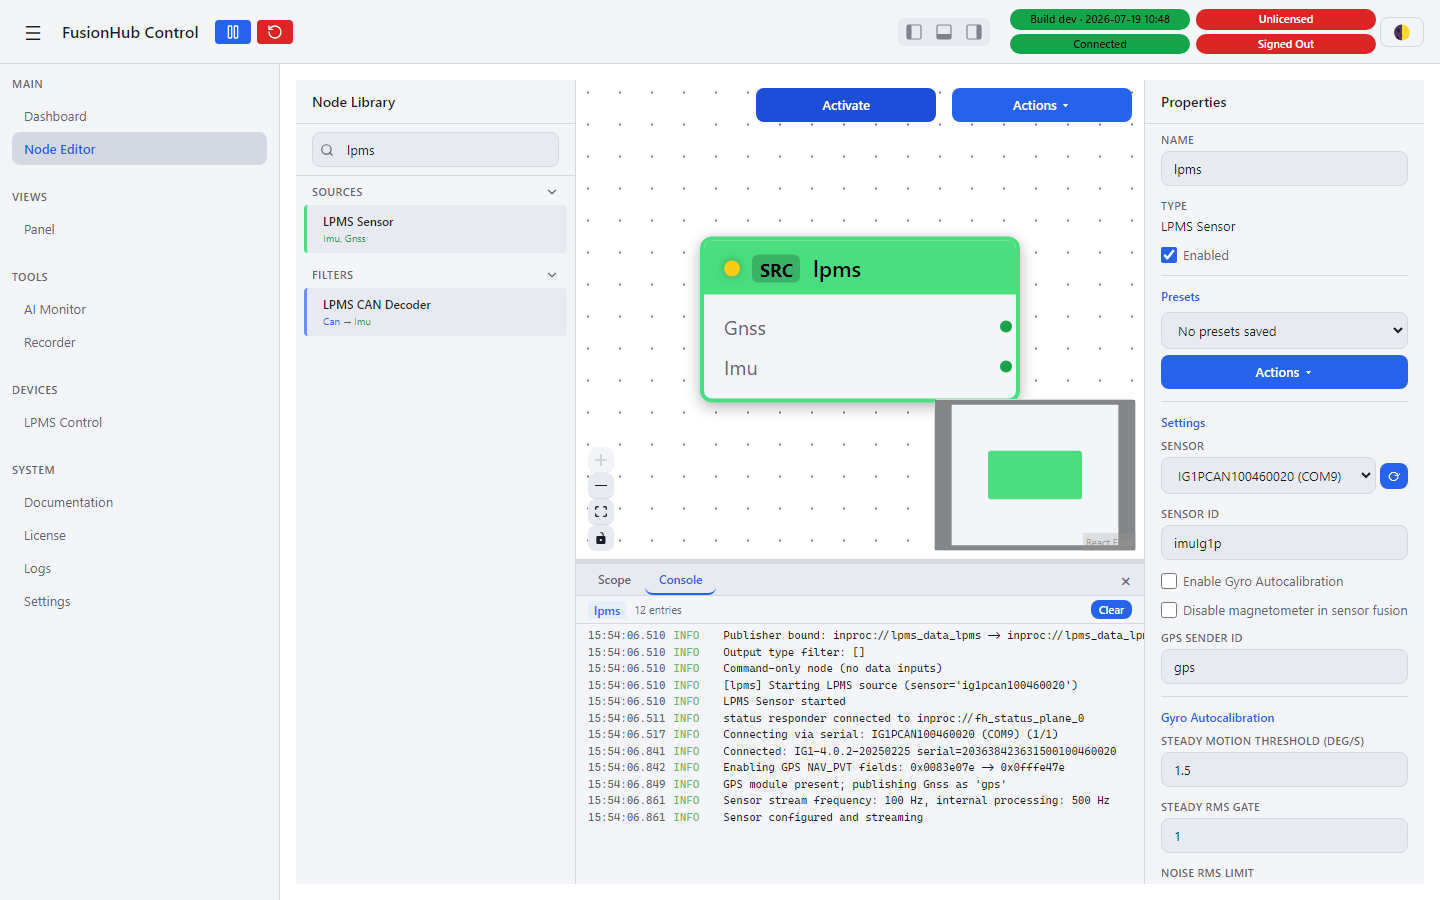
Now click Activate. The node turns green and shows the live sample rate, and the console at the bottom reports “Sensor configured and streaming”:
4. Check the data
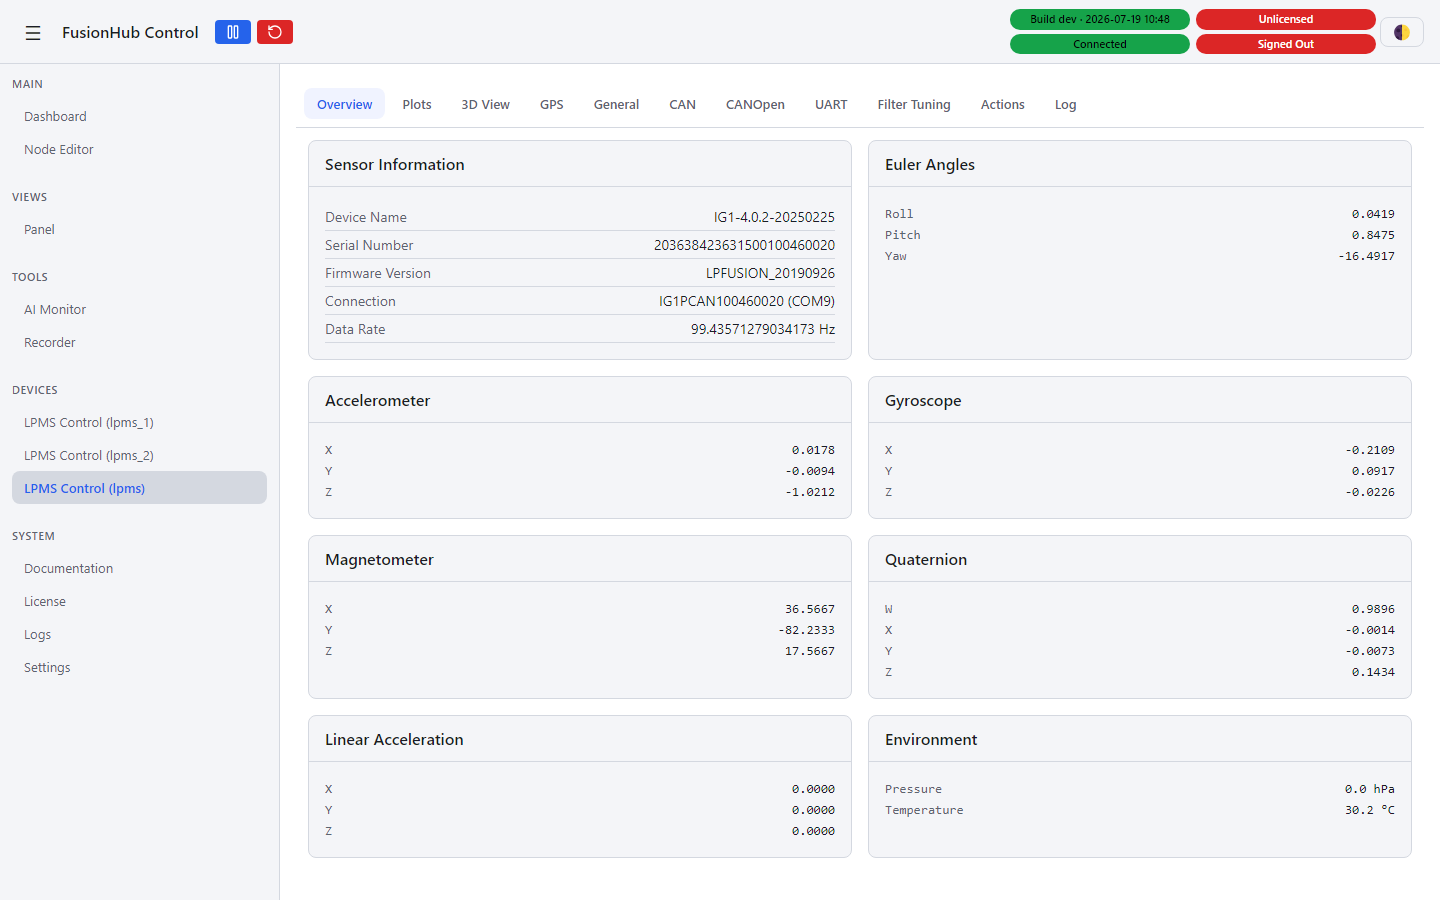
As soon as an LPMS Sensor node is in the graph, an LPMS Control entry appears under Devices in the sidebar - one entry per sensor node. This page is the successor of LpmsControl and combines live data display and sensor configuration.
The Overview tab shows the device information plus live orientation, accelerometer, gyroscope, magnetometer and environment readings:
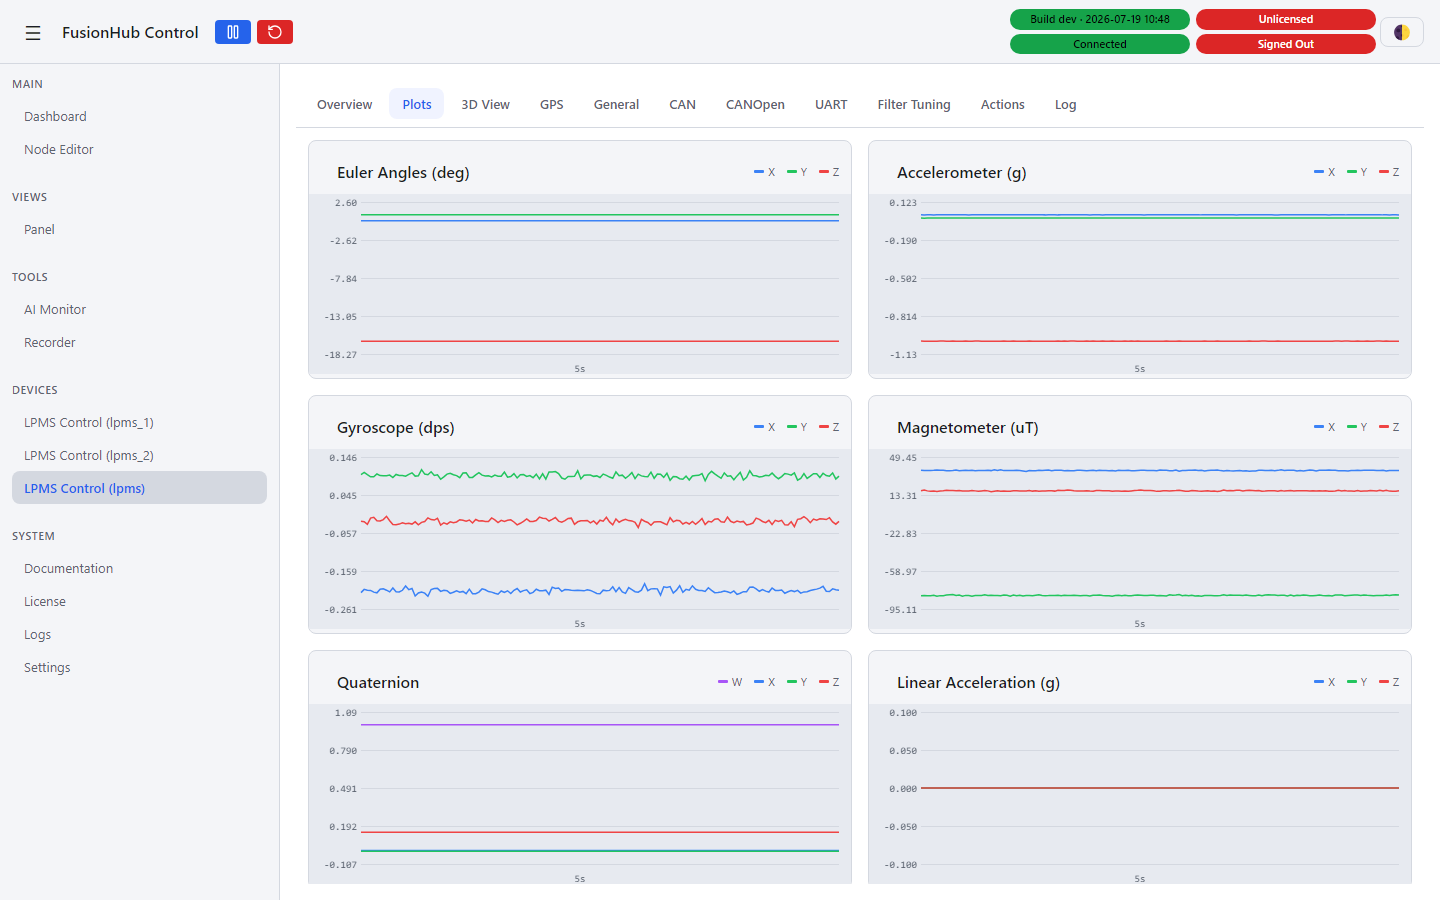
The Plots tab draws real-time charts of all sensor channels:
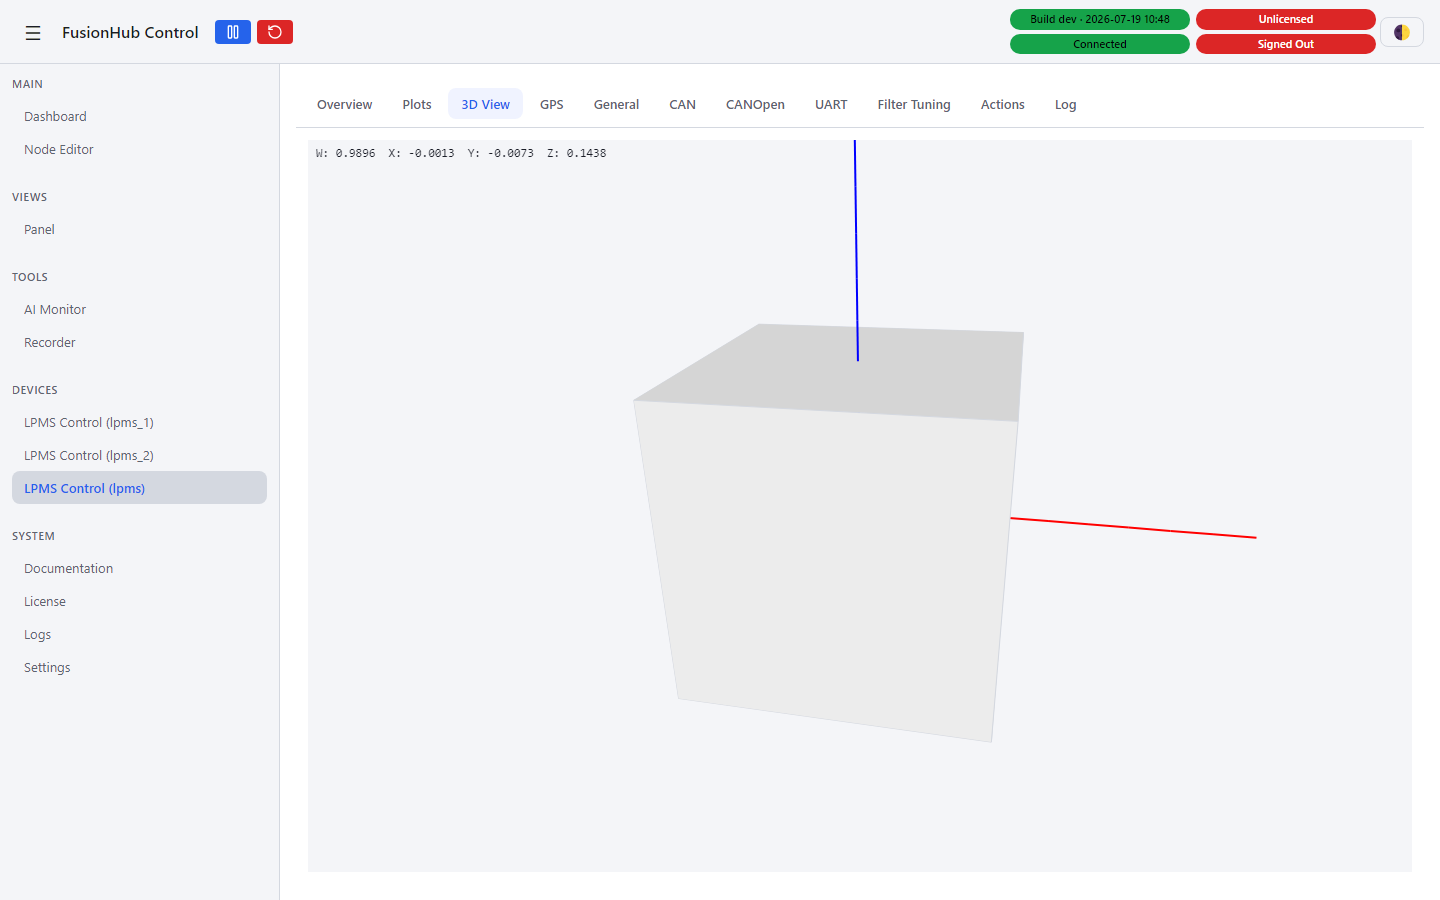
The 3D View tab visualizes the live orientation - rotate the sensor in your hand and the cube follows:
The remaining tabs cover sensor configuration: GPS (LPMS-IG1P), CAN, CANOpen and UART interface settings, Filter Tuning, and Actions for calibration and firmware updates.
5. Connect several sensors at once
Add one LPMS Sensor node per sensor and select a different sensor in each. Give every node a unique Sensor ID (for example imuLeft, imuRight) - this is the stream name under which the sensor’s data is published inside FusionHub. Each node gets its own LPMS Control page.
6. Stream the data into the pipeline
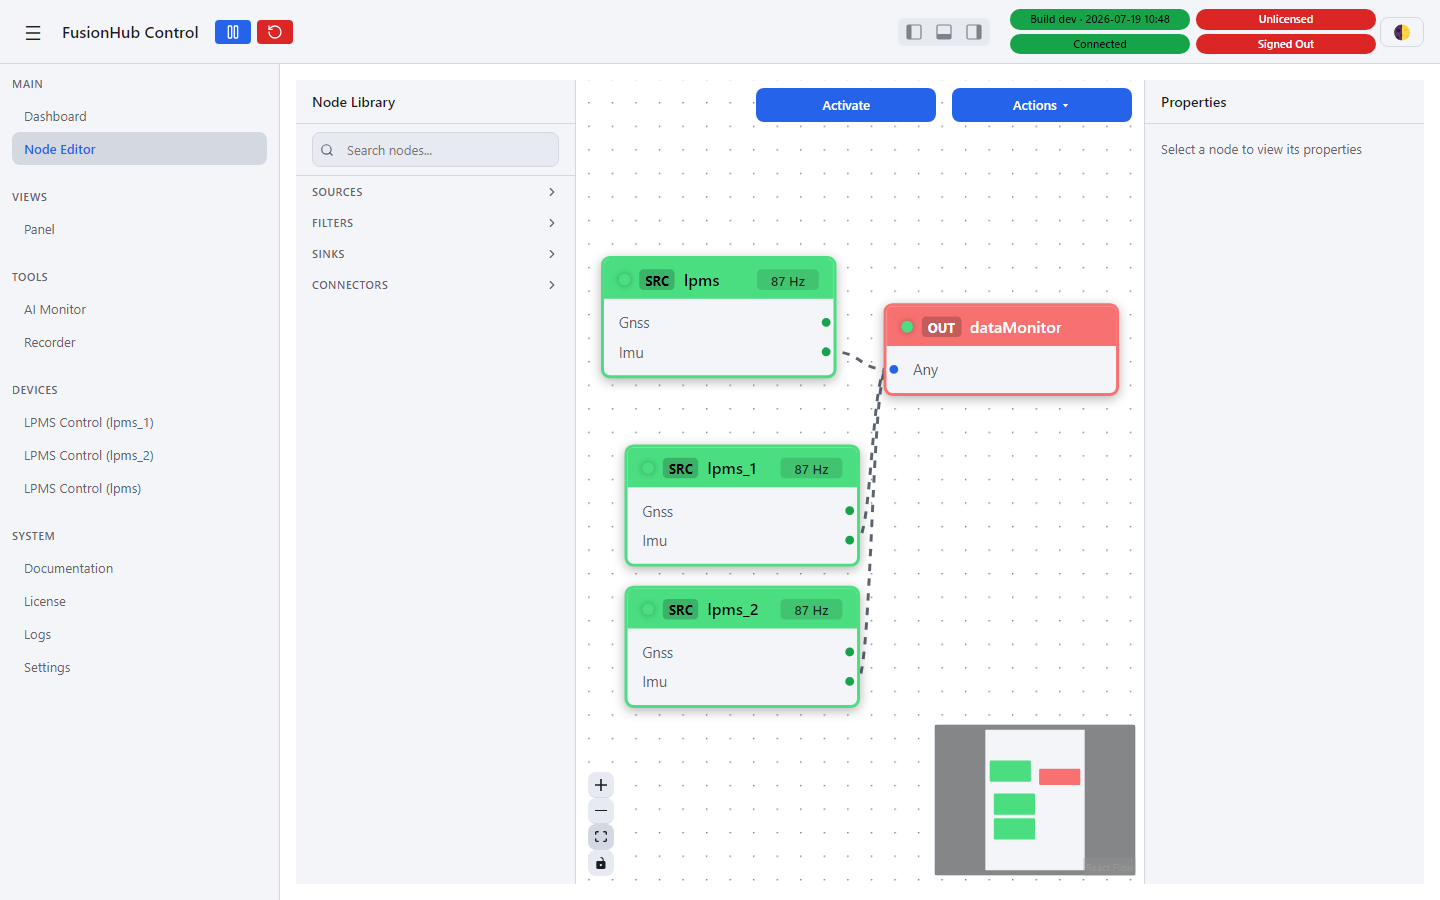
The LPMS Control page works without any further setup. To actually use the sensor data - record it, fuse it, or send it to another application - connect the node’s output to other nodes: drag a connection from the Imu output port to the input of a filter or sink. The simplest check is a Data Monitor sink, which counts the messages it receives:
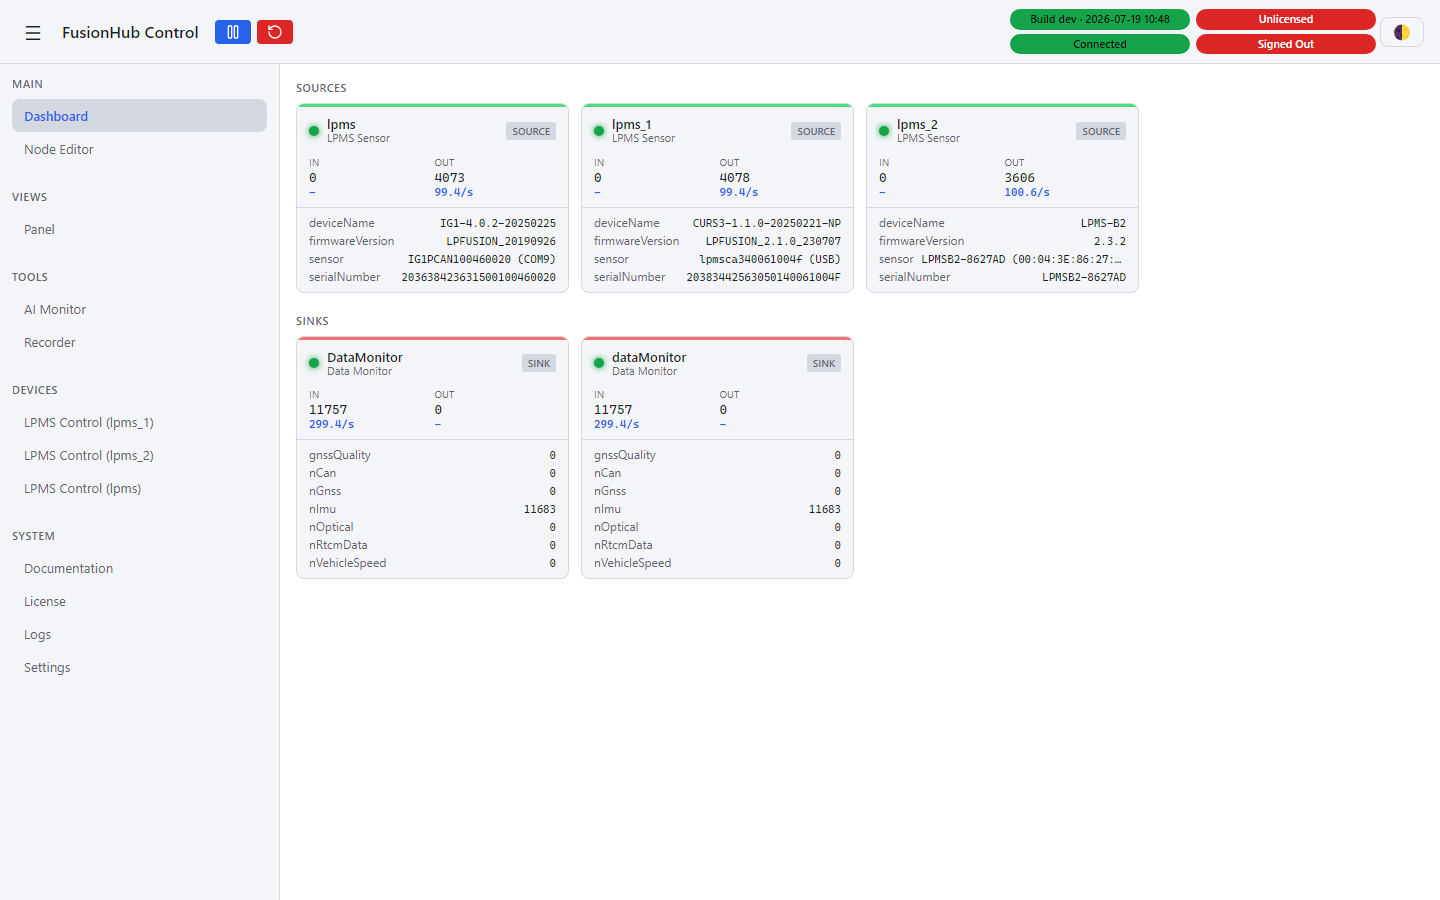
After clicking Activate, the Dashboard shows all running nodes with their live data rates:
From here, everything in the node library is available: log to a file with the File Logger, record and replay sessions with the Recorder, forward data via WebSocket, MQTT or UDP, or feed the sensors into FusionHub’s fusion filters.
Troubleshooting
- The sensor is not in the dropdown: check cable and power, then click the refresh button next to the dropdown. On Windows, verify the sensor appears in the Device Manager (USB sensors enumerate as “Silicon Labs CP210x” or “USBXpress Device”); install the Silicon Labs CP210x VCP driver if it does not.
- Bluetooth connection fails (“check that the device is powered, paired and in range”): make sure the LPMS-B2 is charged, switched on and paired in the OS, then click the restart button (red circular arrow in the top bar) to reconnect.
- Sensor already in use: each physical sensor can only be claimed by one node at a time. Remove or disable the other node that uses the same sensor.
Next steps
- LPMS Sensor node reference - all node settings in detail
- Getting Started - account setup and license activation for FusionHub’s licensed fusion features
- LPMS hardware documentation - datasheets, hardware manuals and quick start guides for all LPMS sensor families